Drawing and Animation - Animating Views and Transitions

뷰의 트랜지션 커스텀하기(Customize View Transitions)
기본적으로,뷰는 페이드 인 및 페이드 아웃으로 인해 화면을 끄고 킵니다. transition (_ :) 수정자를 사용하여 이 전환을 사용자 정의 할 수 있습니다.
By default, views transition on- and offscreen by fading in and out. You can customize this transition by using the transition(_:) modifier.

Step 1
if문 안에 있는 HikeView에 transition (_ :) 수정자를 추가합니다.
이제 그래프가 안팎으로 미끄러 져 나타나고 사라집니다.
Add a transition(_:) modifier to the conditionally visible HikeView.
Now the graph appears and disappears by sliding in and out of sight.
import SwiftUI

struct HikeView: View {
    var hike: Hike
    @State private var showDetail = false

    var body: some View {
        VStack {
            HStack {
                HikeGraph(data: hike.observations, path: \.elevation)
                    .frame(width: 50, height: 30)

                VStack(alignment: .leading) {
                    Text(hike.name)
                        .font(.headline)
                    Text(hike.distanceText)
                }

                Spacer()

                Button(action: {
                    withAnimation {
                        self.showDetail.toggle()
                    }
                }) {
                    Image(systemName: "chevron.right.circle")
                        .imageScale(.large)
                        .rotationEffect(.degrees(showDetail ? 90 : 0))
                        .scaleEffect(showDetail ? 1.5 : 1)
                        .padding()
                }
            }

            if showDetail {
                HikeDetail(hike: hike)
                    .transition(.slide)
            }
        }
    }
}
Step 2
AnyTransition의 정적 프로퍼티가 되도록 전환을 추출합니다.
이렇게하면 사용자 정의 전환을 확장 할 때 코드가 깔끔해집니다. SwiftUI에 포함 된 것과 동일한 점 표기법을 사용자 정의 전환에 사용할 수 있습니다.
Extract the transition to be a static property of AnyTransition.
This keeps your code clean as you expand the custom transition. You can use the same dot notation for your custom transitions as you do with SwiftUI’s included ones.
import SwiftUI

extension AnyTransition {
    static var moveAndFade: AnyTransition {
        AnyTransition.slide
    }
}

struct HikeView: View {
    var hike: Hike
    @State private var showDetail = false

    var body: some View {
        VStack {
            HStack {
                HikeGraph(data: hike.observations, path: \.elevation)
                    .frame(width: 50, height: 30)

                VStack(alignment: .leading) {
                    Text(hike.name)
                        .font(.headline)
                    Text(hike.distanceText)
                }

                Spacer()

                Button(action: {
                    withAnimation {
                        self.showDetail.toggle()
                    }
                }) {
                    Image(systemName: "chevron.right.circle")
                        .imageScale(.large)
                        .rotationEffect(.degrees(showDetail ? 90 : 0))
                        .scaleEffect(showDetail ? 1.5 : 1)
                        .padding()
                }
            }

            if showDetail {
                HikeDetail(hike: hike)
                    .transition(.moveAndFade)
            }
        }
    }
}
Step 3
move(edge:) 트랜지션을 사용하여 그래프가 같은면에서 밀려 나오도록합니다.
Switch to using the move(edge:) transition, so that the graph slides in and out from the same side.
import SwiftUI

extension AnyTransition {
    static var moveAndFade: AnyTransition {
        AnyTransition.move(edge: .trailing)
    }
}

struct HikeView: View {
    var hike: Hike
    @State private var showDetail = false

    var body: some View {
        VStack {
            HStack {
                HikeGraph(data: hike.observations, path: \.elevation)
                    .frame(width: 50, height: 30)

                VStack(alignment: .leading) {
                    Text(hike.name)
                        .font(.headline)
                    Text(hike.distanceText)
                }

                Spacer()

                Button(action: {
                    withAnimation {
                        self.showDetail.toggle()
                    }
                }) {
                    Image(systemName: "chevron.right.circle")
                        .imageScale(.large)
                        .rotationEffect(.degrees(showDetail ? 90 : 0))
                        .scaleEffect(showDetail ? 1.5 : 1)
                        .padding()
                }
            }

            if showDetail {
                HikeDetail(hike: hike)
                    .transition(.moveAndFade)
            }
        }
    }
}
Step 4
asymmetric(insertion:removal:) 수정자를 사용하여 뷰가 나타나거나 사라질 때 다른 트랜지션을 제공합니다.
Use the asymmetric(insertion:removal:) modifier to provide different transitions for when the view appears and disappears.
import SwiftUI

extension AnyTransition {
    static var moveAndFade: AnyTransition {
        let insertion = AnyTransition.move(edge: .trailing)
            .combined(with: .opacity)
        let removal = AnyTransition.scale
            .combined(with: .opacity)
        return .asymmetric(insertion: insertion, removal: removal)
    }
}

struct HikeView: View {
    var hike: Hike
    @State private var showDetail = false

    var body: some View {
        VStack {
            HStack {
                HikeGraph(data: hike.observations, path: \.elevation)
                    .frame(width: 50, height: 30)

                VStack(alignment: .leading) {
                    Text(hike.name)
                        .font(.headline)
                    Text(hike.distanceText)
                }

                Spacer()

                Button(action: {
                    withAnimation {
                        self.showDetail.toggle()
                    }
                }) {
                    Image(systemName: "chevron.right.circle")
                        .imageScale(.large)
                        .rotationEffect(.degrees(showDetail ? 90 : 0))
                        .scaleEffect(showDetail ? 1.5 : 1)
                        .padding()
                }
            }

            if showDetail {
                HikeDetail(hike: hike)
                    .transition(.moveAndFade)
            }
        }
    }
}
복잡한 효과를위한 애니메이션 작성(Compose Animations for Complex Effects)
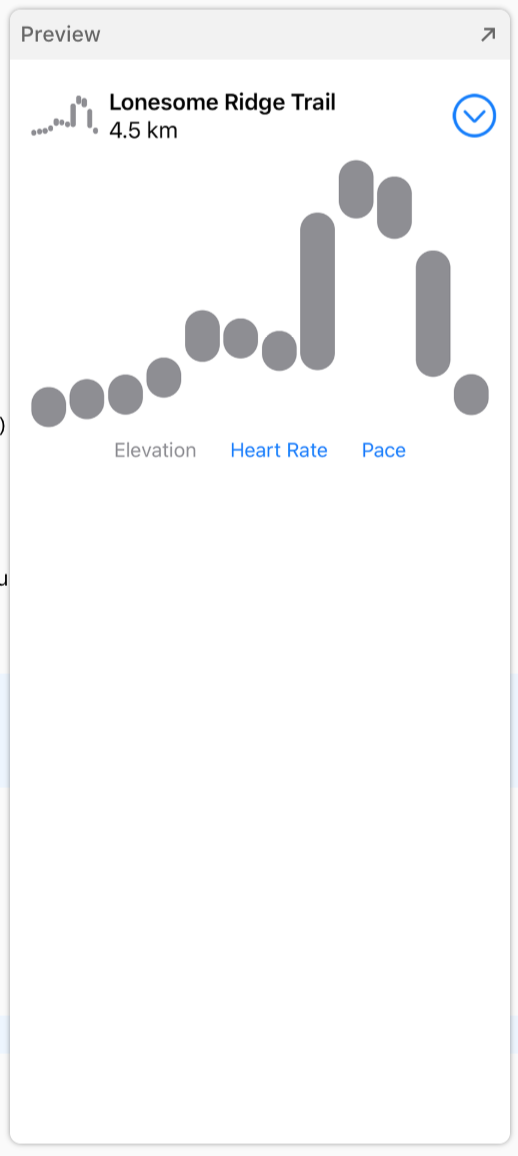
막대 아래의 버튼을 클릭하면 세 가지 데이터 세트간에 그래프가 전환됩니다. 이 섹션에서는 합성 애니메이션을 사용하여 그래프를 구성하는 캡슐을 역동적이고 rippling 트랜지션으로 만듭니다.
The graph switches between three different sets of data when you click the buttons below the bars. In this section, you’ll use a composed animation to give the capsules that make up the graph a dynamic, rippling transition.

Step 1
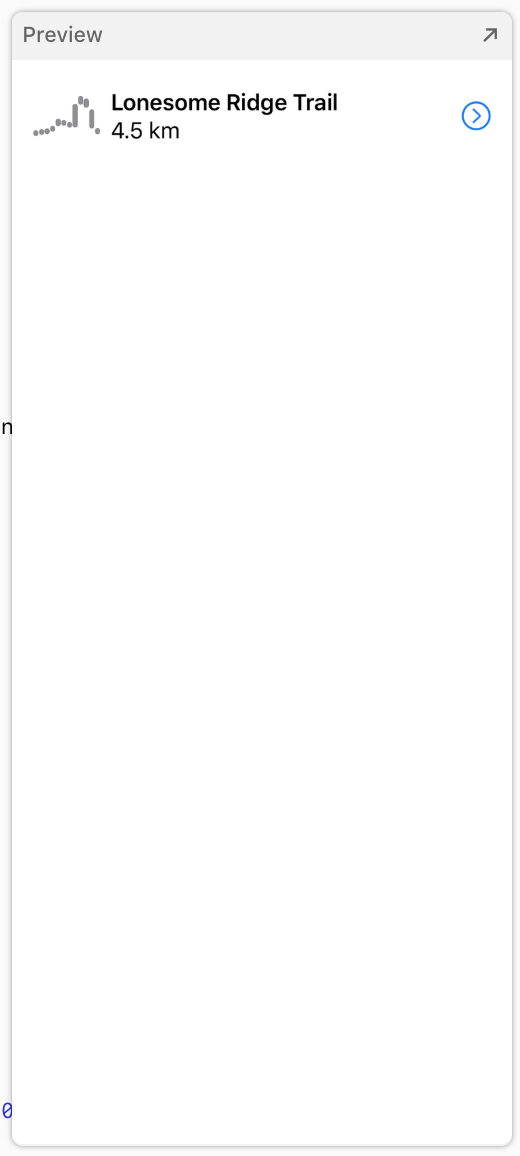
showDetail의 기본값을 true로 변경하고 HikeView 미리보기를 캔버스에 고정해보세요.
이를 통해 다른 파일에서 애니메이션 작업을하는 동안 상황에 맞는 그래프를 볼 수 있습니다.
Change the default value for showDetail to true, and pin the HikeView preview to the canvas.
This makes it possible for you to see the graph in context while you work on the animation in another file.

Step 2
GraphCapsule.swift에서 새로운 계산 된 애니메이션 속성을 추가하고 이를 캡슐 모양에 적용합니다.
In GraphCapsule.swift, add a new computed animation property, and apply it to the capsule shape.
import SwiftUI

struct GraphCapsule: View {
    var index: Int
    var height: CGFloat
    var range: Range<Double>
    var overallRange: Range<Double>

    var heightRatio: CGFloat {
        max(CGFloat(magnitude(of: range) / magnitude(of: overallRange)), 0.15)
    }

    var offsetRatio: CGFloat {
        CGFloat((range.lowerBound - overallRange.lowerBound) / magnitude(of: overallRange))
    }

    var animation: Animation {
        Animation.default
    }

    var body: some View {
        Capsule()
            .fill(Color.gray)
            .frame(height: height * heightRatio, alignment: .bottom)
            .offset(x: 0, y: height * -offsetRatio)
            .animation(animation)
        )
    }
}
Step 3
감소 된 속도로 막대 그래프를 그릴 수 있게 애니메이션을 스프링 애니메이션으로 전환합니다.
Switch the animation to a spring animation, with a reduced damping fraction to make the bars hop.
import SwiftUI

struct GraphCapsule: View {
    var index: Int
    var height: CGFloat
    var range: Range<Double>
    var overallRange: Range<Double>

    var heightRatio: CGFloat {
        max(CGFloat(magnitude(of: range) / magnitude(of: overallRange)), 0.15)
    }

    var offsetRatio: CGFloat {
        CGFloat((range.lowerBound - overallRange.lowerBound) / magnitude(of: overallRange))
    }

    var animation: Animation {
        Animation.spring(dampingFraction: 0.5)
    }

    var body: some View {
        Capsule()
            .fill(Color.gray)
            .frame(height: height * heightRatio, alignment: .bottom)
            .offset(x: 0, y: height * -offsetRatio)
            .animation(animation)
        )
    }
}
Step 4
각 막대가 새로운 위치로 이동하는 데 걸리는 시간을 줄이기위해 애니메이션 속도를 약간 높이세요.
Speed up the animation a bit, to shorten the time each bar takes to move to its new position.
import SwiftUI

struct GraphCapsule: View {
    var index: Int
    var height: CGFloat
    var range: Range<Double>
    var overallRange: Range<Double>

    var heightRatio: CGFloat {
        max(CGFloat(magnitude(of: range) / magnitude(of: overallRange)), 0.15)
    }

    var offsetRatio: CGFloat {
        CGFloat((range.lowerBound - overallRange.lowerBound) / magnitude(of: overallRange))
    }

    var animation: Animation {
        Animation.spring(dampingFraction: 0.5)
            .speed(2)
    }

    var body: some View {
        Capsule()
            .fill(Color.gray)
            .frame(height: height * heightRatio, alignment: .bottom)
            .offset(x: 0, y: height * -offsetRatio)
            .animation(animation)
        )
    }
}
Step 5
그래프에서 캡슐의 위치에 따라 각 애니메이션에 딜레이를 줍니다.
Add a delay to each animation that’s based on the the capsule’s position on the graph.
import SwiftUI

struct GraphCapsule: View {
    var index: Int
    var height: CGFloat
    var range: Range<Double>
    var overallRange: Range<Double>

    var heightRatio: CGFloat {
        max(CGFloat(magnitude(of: range) / magnitude(of: overallRange)), 0.15)
    }

    var offsetRatio: CGFloat {
        CGFloat((range.lowerBound - overallRange.lowerBound) / magnitude(of: overallRange))
    }

    var animation: Animation {
        Animation.spring(dampingFraction: 0.5)
            .speed(2)
            .delay(0.03 * Double(index))
    }

    var body: some View {
        Capsule()
            .fill(Color.gray)
            .frame(height: height * heightRatio, alignment: .bottom)
            .offset(x: 0, y: height * -offsetRatio)
            .animation(animation)
        )
    }
}
Step 6
그래프간에 전환 할 때 사용자 정의 애니메이션이 어떻게 rippling 효과를 제공하는지 관찰해보세요!
Observe how the custom animation provides a rippling effect when transitioning between graphs.

'IT > Swift' 카테고리의 다른 글
| SwiftUI 튜토리얼 6-2 복합 인터페이스 구성하기 (0) | 2019.11.26 |
|---|---|
| SwiftUI 튜토리얼 6-1 복합 인터페이스 구성하기 (0) | 2019.11.24 |
| SwiftUI 튜토리얼 5-1 뷰 애니메이션과 트랜지션 (0) | 2019.11.06 |
| SwiftUI Tutorials 4 Drawing Paths and Shapes (0) | 2019.11.02 |
| SwiftUI 튜토리얼 3 사용자 입력 다루기 (0) | 2019.10.26 |


