SwiftUI Essentials - Building Lists and Navigation

기본 랜드마크 상세 뷰를 만듦과 동시에 랜드마크에 대한 전체 목록을 보는 방법을 제공하고 그 각각의 항목에 대한 상세 위치도 볼 수 있게 하고 싶습니다.
모든 랜드 마크에 대한 정보를 표시할 수 있는 뷰를 작성하고 사용자가 탭 하여 랜드 마크에 대한 세부 사항 뷰를 볼 수 있는 스크롤 목록을 동적으로 생성합니다. UI를 미세 조정과 다양한 장치 사이즈를 대응하기 위해 위해 Xcode의 캔버스를 사용하여 멀티 프리뷰를 렌더링 합니다.
프로젝트 파일을 다운로드하여이 프로젝트 빌드를 시작하고 아래 단계를 수행하십시오.
With the basic landmark detail view set up, you need to provide a way for users to see the full list of landmarks, and to view the details about each location.
You’ll create views that can show information about any landmark, and dynamically generate a scrolling list that a user can tap to see a detail view for a landmark. To fine-tune the UI, you’ll use Xcode’s canvas to render multiple previews at different device sizes.
Download the project files to begin building this project, and follow the steps below.
샘플 데이터 파악하기(Get to Know the Sample Data)
이전 튜토리얼에서는 모든 커스텀 뷰의 정보를 하드 코딩해보았습니다. 이번 튜토리얼에서는 데이터를 커스텀뷰로 전달하여 표시하는 방법을 배울 것입니다.
위에 첨부되어있는 스타터 프로젝트를 다운로드 받으시고 샘플 데이터를 한번 둘러보세요.
In the first tutorial, you hard-coded information into all of your custom views. Here, you’ll learn to pass data into your custom views for display.
Get started by downloading the starter project and familiarizing yourself with the sample data.

Step 1
프로젝트 내비게이터에서 Models > Landmark.swift를 선택하세요.
Landmark.swift는 앱에 표시할 모든 랜드마크 정보를 저장하고 landmarkData.json에서 랜드마크 데이터 배열을 가져오는 랜드마크 구조가 선언되어있습니다.
In the Project navigator, choose Models > Landmark.swift.
Landmark.swift declares a Landmark structure that stores all of the landmark information the app needs to display, and imports an array of landmark data from landmarkData.json.
import SwiftUI
import CoreLocation

struct Landmark: Hashable, Codable {
    var id: Int
    var name: String
    fileprivate var imageName: String
    fileprivate var coordinates: Coordinates
    var state: String
    var park: String
    var category: Category

    var locationCoordinate: CLLocationCoordinate2D {
        CLLocationCoordinate2D(
            latitude: coordinates.latitude,
            longitude: coordinates.longitude)
    }

    enum Category: String, CaseIterable, Codable, Hashable {
        case featured = "Featured"
        case lakes = "Lakes"
        case rivers = "Rivers"
    }
}

extension Landmark {
    var image: Image {
        ImageStore.shared.image(name: imageName)
    }
}

struct Coordinates: Hashable, Codable {
    var latitude: Double
    var longitude: Double
}
Step 2
프로젝트 내비게이터에서 landmarkData.json를 선택하세요.
이번 튜토리얼 끝까지 이 샘플 데이터를 사용합니다. 이번뿐만 아니라 앞으로도 사용할 것입니다.
In the Project navigator, choose Resources > landmarkData.json.
You’ll use this sample data throughout the remainder of this tutorial, and for all that follow.
landmarkData.json
[
    {
        "name": "Turtle Rock",
        "category": "Featured",
        "city": "Twentynine Palms",
        "state": "California",
        "id": 1001,
        "park": "Joshua Tree National Park",
        "coordinates": {
            "longitude": -116.166868,
            "latitude": 34.011286
        },
        "imageName": "turtlerock"
    },
    {
        "name": "Silver Salmon Creek",
        "category": "Lakes",
        "city": "Port Alsworth",
        "state": "Alaska",
        "id": 1002,
        "park": "Lake Clark National Park and Preserve",
        "coordinates": {
            "longitude": -152.665167,
            "latitude": 59.980167
        },
        "imageName": "silversalmoncreek"
    },
    ...
]
Step 3
이전 Creating and Combining Views 포스팅의 ContentView 타입의 이름이 지금은 LandmarkDetail이란 것에 주목해주세요!
다음 튜토리얼들을 하는 동안에도 몇개의 뷰타입을 더 만들 것입니다.
Note that the ContentView type from Creating and Combining Views is now named LandmarkDetail.
You’ll create several more view types in this and each of the following tutorials.
import SwiftUI

struct LandmarkDetail: View {
    var body: some View {
        VStack {
            MapView()
                .frame(height: 300)

            CircleImage()
                .offset(y: -130)
                .padding(.bottom, -130)

            VStack(alignment: .leading) {
                Text("Turtle Rock")
                    .font(.title)

                HStack(alignment: .top) {
                    Text("Joshua Tree National Park")
                        .font(.subheadline)
                    Spacer()
                    Text("California")
                        .font(.subheadline)
                }
            }
            .padding()

            Spacer()
        }
    }
}

struct LandmarkDetail_Preview: PreviewProvider {
    static var previews: some View {
        LandmarkDetail()
    }
}
행을 나타내는 뷰 생성(Create the Row View)
이번 튜토리얼에서 빌드할 첫 번째 뷰는 각각의 랜드마크에 대한 상세정보를 보여주기 위한 행(row)입니다. 이 행을 나타내는 뷰는 랜드마크의 프로퍼티 정보를 저장합니다. 그렇기 때문에 어떤 랜드마크라도 표현이 가능합니다. 나중에 여러 행을 결합하여 랜드마크 목록을 만들어보겠습니다.
The first view you’ll build in this tutorial is a row for displaying details about each landmark. This row view stores information in a property for the landmark it displays, so that one view can display any landmark. Later, you’ll combine multiple rows into a list of landmarks.

Step 1
LandmarkRow이름으로 SwiftUI 뷰를 생성합니다.
Create a new SwiftUI view, named LandmarkRow.swift.

Step 2
미리보기가 준비되어있지 않다면 Editor> Editor and Canvas 메뉴를 선택하세요
If the preview isn’t visible already, show the canvas by selecting Editor > Editor and Canvas, and then click Get Started.
Step 3
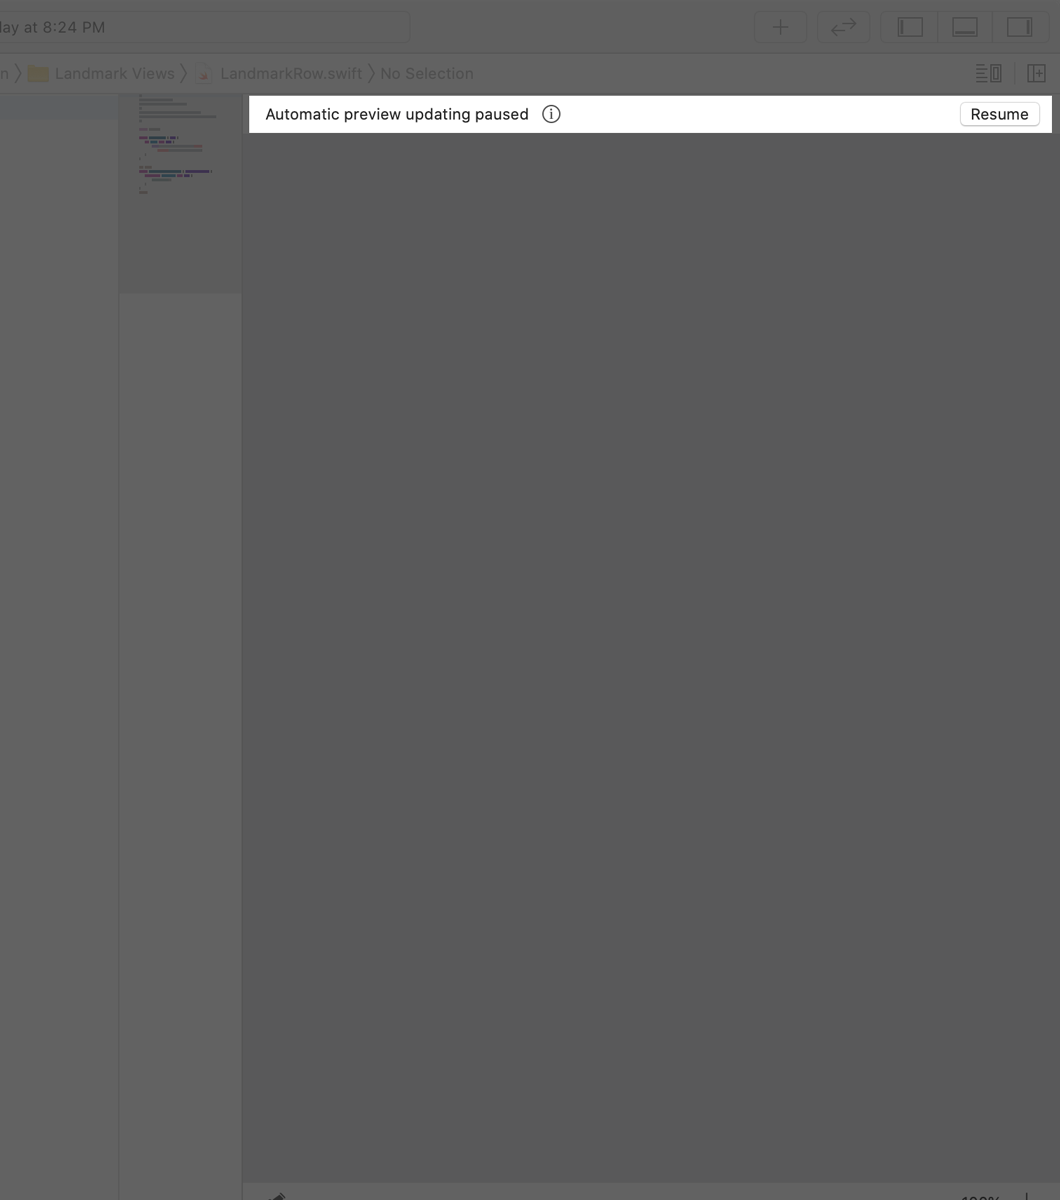
LandmarkRow안에 저장 프로퍼티로 landmark를 추가합니다.
LandmarkRow를 초기화 중에 landmark가 필요하므로 landmark 프로퍼티를 추가할 때 미리보기가 멈춥니다.
Add landmark as a stored property of LandmarkRow.
When you add the landmark property, the preview stops working, because the LandmarkRow type needs a landmark instance during initialization.
import SwiftUI

struct LandmarkRow: View {
    var landmark: Landmark

    var body: some View {
        Text("Hello World")
    }
}

struct LandmarkRow_Previews: PreviewProvider {
    static var previews: some View {
        LandmarkRow()
    }
}
미리 보기를 수정하기 위해 미리 보기 제공자(preview provider)를 수정해야 합니다.
To fix the preview, you’ll need to modify the preview provider.
Step 4
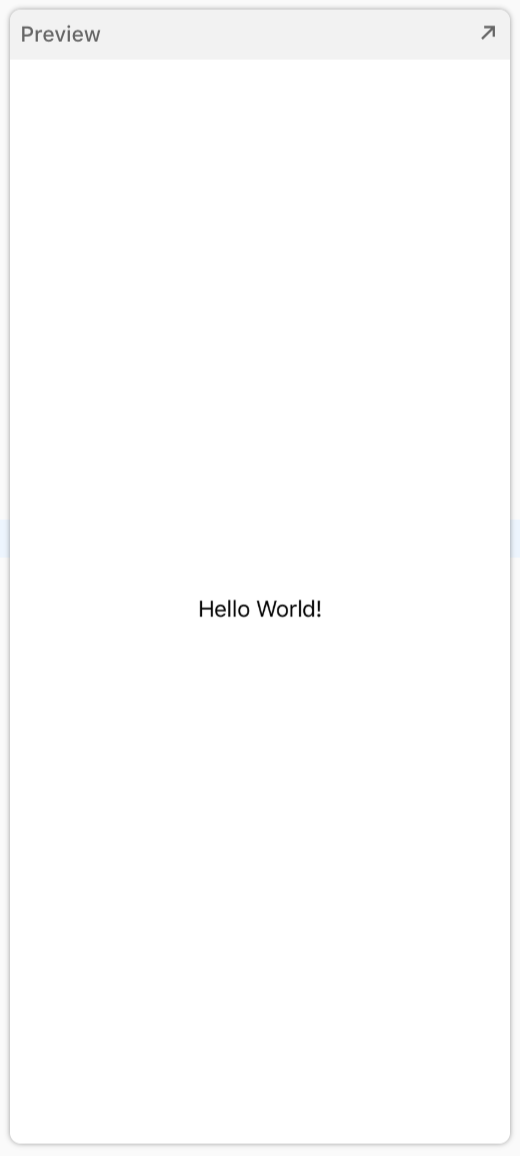
LandmarkRow_Previews의 미리 보기 정적 프로퍼티에서 landmarkData 배열의 첫 번째 요소를 지정하여 Landmark 매개 변수를 LandmarkRow 초기화 프로그램에 추가하십시오.
미리보기에는 Hello World라는 텍스트가 표시됩니다.
landmarkData는 Data.swift에 선언되어있습니다.
In the previews static property of LandmarkRow_Previews, add the landmark parameter to the LandmarkRow initializer, specifying the first element of the landmarkData array.
The preview displays the text, Hello World.
import SwiftUI

struct LandmarkRow: View {
    var landmark: Landmark

    var body: some View {
        Text("Hello World")
    }
}

struct LandmarkRow_Previews: PreviewProvider {
    static var previews: some View {
        LandmarkRow(landmark: landmarkData[0])
    }
}
고정된 행의 레이아웃을 작성할 수 있습니다.
With that fixed, you can build the layout for the row.
Step 5
텍스트뷰를 HStack을 추가하여 스택 안에 배치합니다.
Embed the existing text view in an HStack.
import SwiftUI

struct LandmarkRow: View {
    var landmark: Landmark

    var body: some View {
        HStack {
            Text("Hello World")
        }
    }
}

struct LandmarkRow_Previews: PreviewProvider {
    static var previews: some View {
        LandmarkRow(landmark: landmarkData[0])
    }
}
Step 6
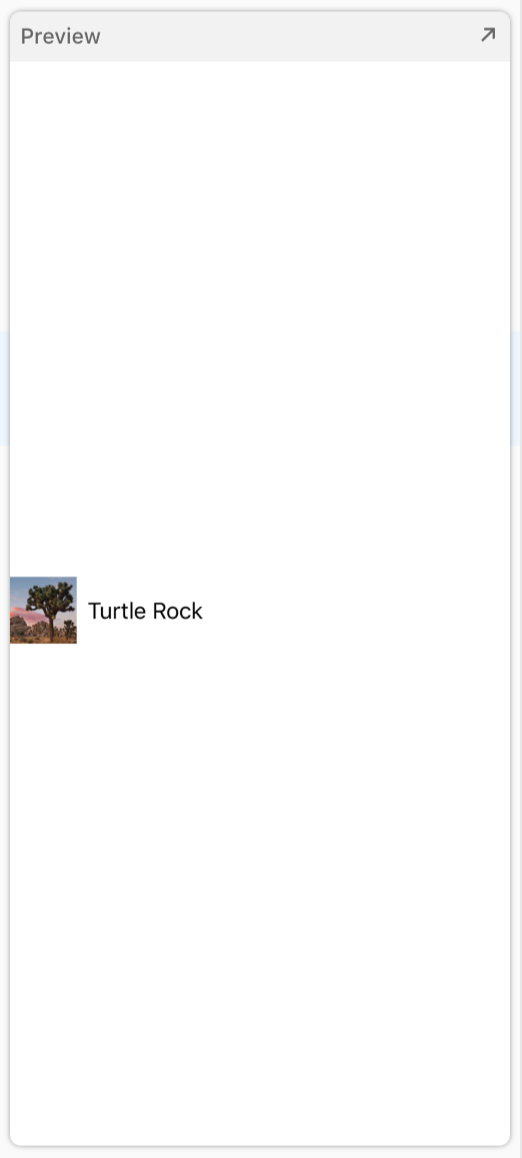
텍스트뷰를 랜드 마크 프로퍼티 이름(name)을 사용하도록 수정합니다.
Modify the text view to use the landmark property’s name.
import SwiftUI

struct LandmarkRow: View {
    var landmark: Landmark

    var body: some View {
        HStack {
            Text(landmark.name)
        }
    }
}

struct LandmarkRow_Previews: PreviewProvider {
    static var previews: some View {
        LandmarkRow(landmark: landmarkData[0])
    }
}
Step 7
텍스트뷰 전에 이미지를 추가하여 완성하세요
Complete the row by adding an image before the text view.
import SwiftUI

struct LandmarkRow: View {
    var landmark: Landmark

    var body: some View {
        HStack {
            landmark.image
                .resizable()
                .frame(width: 50, height: 50)
            Text(landmark.name)
        }
    }
}

struct LandmarkRow_Previews: PreviewProvider {
    static var previews: some View {
        LandmarkRow(landmark: landmarkData[0])
    }
}
행 뷰 미리 보기 사용자 정의하기(Customize the Row Preview)
엑스 코드의 캔버스는 현재 편집기에서 PreviewProvide프로토콜을 채택하는 타입에 대해서 자동으로 인식하고 표시합니다. 미리 보기 제공자(preview provide)는 크기와 장치를 구성하는 옵션과 함께 하나 이상의 뷰를 반환합니다.
미리보기 제공자(preview provide)에서 반환된 콘텐츠를 사용자 정의하여 가장 유용한 미리보기를 렌더링 할 수 있습니다.
Xcode’s canvas automatically recognizes and displays any type in the current editor that conforms to the PreviewProvider protocol. A preview provider returns one or more views, with options to configure the size and device.
You can customize the returned content from a preview provider to render exactly the previews that are most helpful to you.

Step 1
LandmarkRow_Previews에서 landmarkData 배열의 두 번째 요소가 되도록 Landmark 매개 변수를 업데이트하세요.
미리보기가 첫 번째 대신 두 번째 샘플 랜드 마크를 표시하도록 즉시 변경됩니다.
In LandmarkRow_Previews, update the landmark parameter to be the second element in the landmarkData array.
The preview immediately changes to show the second sample landmark instead of the first.
import SwiftUI

struct LandmarkRow: View {
    var landmark: Landmark

    var body: some View {
        HStack {
            landmark.image
                .resizable()
                .frame(width: 50, height: 50)
            Text(landmark.name)
        }
    }
}

struct LandmarkRow_Previews: PreviewProvider {
    static var previews: some View {
        LandmarkRow(landmark: landmarkData[1])
    }
}
Step 2
previewLayout(_:) 수정자(modifier)를 사용해서 목록 안의 행의 근접한 크기로 설정하세요.
Use the previewLayout(_:) modifier to set a size that approximates a row in a list.
import SwiftUI

struct LandmarkRow: View {
    var landmark: Landmark

    var body: some View {
        HStack {
            landmark.image
                .resizable()
                .frame(width: 50, height: 50)
            Text(landmark.name)
        }
    }
}

struct LandmarkRow_Previews: PreviewProvider {
    static var previews: some View {
        LandmarkRow(landmark: landmarkData[1])
            .previewLayout(.fixed(width: 300, height: 70))
    }
}
미리 보기 제공자로부터 여러 미리보기를 반환하는 그룹을 사용할 수 있습니다.
You can use a Group to return multiple previews from a preview provider.
Step 3
리턴된 행을 그룹으로 랩핑하고 첫 번째 행을 다시 추가하세요.
그룹은 뷰 콘텐츠를 그룹화하기 위한 컨테이너입니다. Xcode는 그룹의 하위 뷰들을 캔버스에서 가가 분리된 형태의 미리보기로 렌더링 합니다.
Wrap the returned row in a Group, and add the first row back again.
Group is a container for grouping view content. Xcode renders the group’s child views as separate previews in the canvas.
import SwiftUI

struct LandmarkRow: View {
    var landmark: Landmark

    var body: some View {
        HStack {
            landmark.image
                .resizable()
                .frame(width: 50, height: 50)
            Text(landmark.name)
        }
    }
}

struct LandmarkRow_Previews: PreviewProvider {
    static var previews: some View {
        Group {
            LandmarkRow(landmark: landmarkData[0])
                .previewLayout(.fixed(width: 300, height: 70))
            LandmarkRow(landmark: landmarkData[1])
                .previewLayout(.fixed(width: 300, height: 70))
        }
    }
}
Step 4
코드를 좀 더 간단하게 만들기 위해 previewLayout(_:)의 호출하는 위치를 그룹 외부로 옮깁니다.
뷰들의 하위 항목은 미리 보기 구성과같은 알맞은 설정정보를 상속합니다.
To simplify the code, move the previewLayout(_:) call to the outside of the group’s child declarations.
A view’s children inherit the view’s contextual settings, such as preview configurations.
import SwiftUI

struct LandmarkRow: View {
    var landmark: Landmark

    var body: some View {
        HStack {
            landmark.image
                .resizable()
                .frame(width: 50, height: 50)
            Text(landmark.name)
        }
    }
}

struct LandmarkRow_Previews: PreviewProvider {
    static var previews: some View {
        Group {
            LandmarkRow(landmark: landmarkData[0])
            LandmarkRow(landmark: landmarkData[1])
        }
        .previewLayout(.fixed(width: 300, height: 70))
    }
}
미리보기 공급자에 작성한 코드는 엑스코드가 캔버스에 표시하는 내용만 변경합니다.
The code you write in a preview provider only changes what Xcode displays in the canvas.
랜드마크 목록 만들기(Create the List of Landmarks)
SwiftUI의 리스트 타입을 사용할대 뷰의 플랫폼별 목록을 표시할수있습니다.
목록의 요소는 지금까지 생성 한 스택의 자식 뷰와 같이 정적이거나 동적으로 생성 될 수 있습니다. 정적 뷰와 동적으로 생성 된 뷰를 혼합 할 수도 있습니다.
When you use SwiftUI’s List type, you can display a platform-specific list of views. The elements of the list can be static, like the child views of the stacks you’ve created so far, or dynamically generated. You can even mix static and dynamically generated views.

Step 1
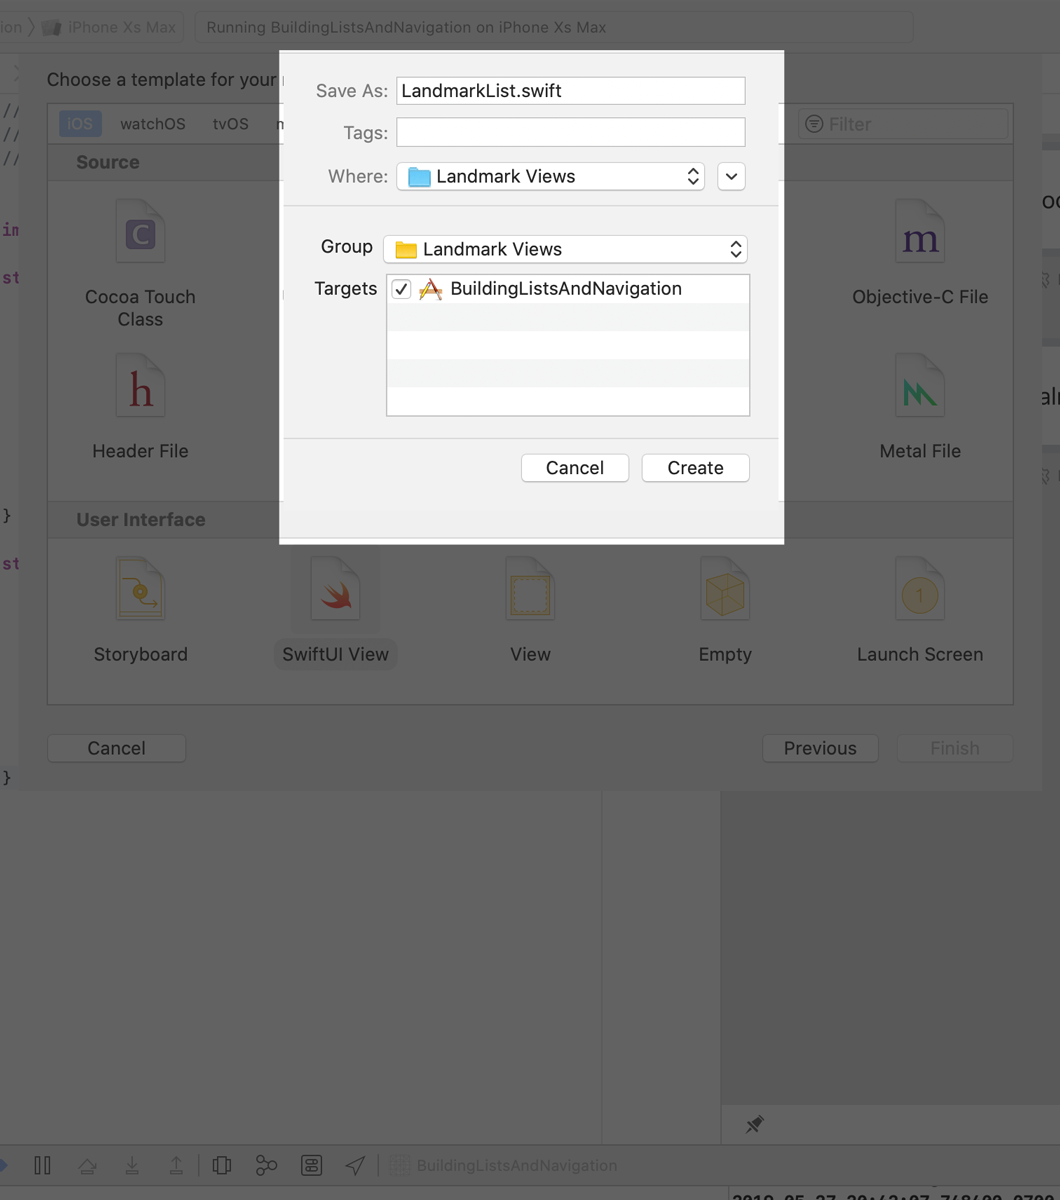
LandmarkList이름의 새로운 SwiftUI 뷰를 만듭니다.
Create a new SwiftUI view, named LandmarkList.swift.
Step 2
기본 텍스트보기를 리스트로 바꾸고 LandmarkRow 인스턴스에 리스트의 항목으로 처음 두 개의 랜드 마크를 제공합니다.
미리보기에는 iOS에 적합한 목록 스타일로 렌더링 된 두 개의 랜드 마크가 표시됩니다.
Replace the default Text view with a List, and provide LandmarkRow instances with the first two landmarks as the list’s children.
The preview shows the two landmarks rendered in a list style that’s appropriate for iOS.
import SwiftUI

struct LandmarkList: View {
    var body: some View {
        List {
            LandmarkRow(landmark: landmarkData[0])
            LandmarkRow(landmark: landmarkData[1])
        }
    }
}

struct LandmarkList_Previews: PreviewProvider {
    static var previews: some View {
        LandmarkList()
    }
}
#swiftui란
#swiftui 기초
#swiftui 기본
#swiftui 강좌
#swiftui 강의
#swiftui 교육
#swiftui 시작하기
#swiftui 따라하기
#wwdc2019
#ios programming
#swiftui apple tutorial 번역
#swiftui apple 튜토리얼 번역
'IT > Swift' 카테고리의 다른 글
| SwiftUI 튜토리얼 3 사용자 입력 다루기 (0) | 2019.10.26 |
|---|---|
| SwiftUI 튜토리얼 2-2 네비게이션과 리스트 만들기 (0) | 2019.10.24 |
| SwiftUI 튜토리얼 1-2 뷰의 생성과 조합 (0) | 2019.10.20 |
| SwiftUI 튜토리얼 1-1 뷰의 생성과 조합 (0) | 2019.10.17 |
| SwiftUI - UIHostingController (0) | 2019.10.16 |


